Travel-Friendly Cosplay Hat
Travel-Friendly Cosplay Hat: Pack It, Snap It, Wear It!
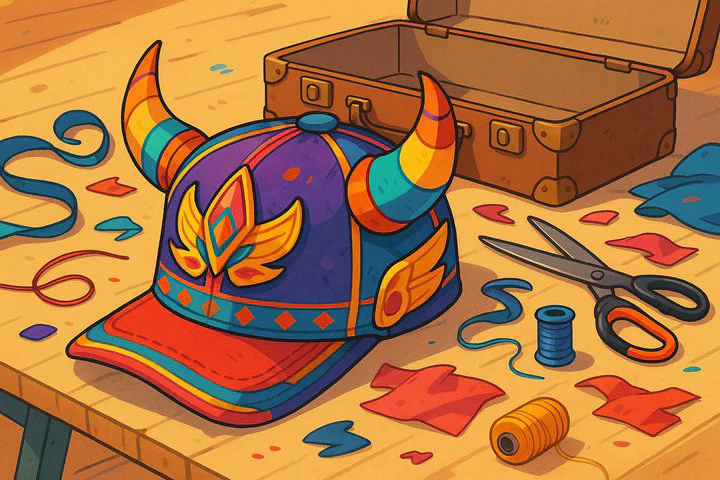
Traveling with cosplay can feel like a puzzle—especially when hats are involved. Big brims bend, tall crowns crush, and tiny decorations break off in your bag. The answer? A travel-friendly cosplay hat that folds, snaps apart, and pops back into shape the moment you reach the con floor. This guide shows you how to build one, keep it safe, and show it off with pride.
Why a Travel-Friendly Cosplay Hat Is Essential
You pour hours into crafting the perfect costume, but one bent hat can ruin the whole look. A travel-friendly cosplay hat keeps your work safe even when it rides in an overhead bin or under a bus seat.
• Saves time and money—no last-minute repairs.
• Reduces stress—just grab it and take it on a trip.
• Boosts creativity—you can bring more than one costume when your hat packs flat.
Imagine walking into a far-away convention with your hat exactly the way you designed it—no glue gun needed!
Designing a Hat to Fit in Luggage
Before cutting any fabric, measure your suitcase. Plan a hat to fit in luggage first, and the build becomes easy.
- Size: Keep the crown height shorter than your deepest suitcase pocket.
- Shape: Create panels that fold like an accordion.
- Material: Use flexible felt, thin Worbla, or craft foam that bends but springs back.
Need extra height, horns, or ears? Add a removable but sturdy foam attachment. Pop it off for packing, then snap it on when you arrive. (Tip: Sketch a quick diagram so you know where each piece belongs.)
For wide brims, sew narrow zip-tie channels so the brim can coil like a garden hose. Flat magnets for hat attachment hold badges, feathers, or ribbons. They keep decorations safe in transit and let you swap styles fast.
Practice packing: wrap the crown in a T-shirt, slide the brim along the suitcase wall, and tuck loose parts inside a shoe. If you can pack the hat in under two minutes, you’re set to take it on a trip without worry.
Innovative Use of Magnets and Foam Attachments
Magnets turn tricky hat parts into simple snap-ons. Here’s an easy method:
- Mark where each trim piece sits.
- Glue a small, strong magnet (called a neodymium disc) inside the hat.
- Glue its matching magnet or a metal washer to the back of your decoration.
Click! The parts lock together. These magnets for hat attachment make hotel-room changes quick and keep pieces from bending during travel.
For horns or tall ears, build each as a removable but sturdy foam attachment:
• Shape craft foam with gentle heat.
• Paint it with flexible acrylic so it won’t crack.
• Leave a flat base, add a magnet, and snap it onto the crown.
Before leaving home, run a “shake test.” Detach all magnet pieces, lay foam parts flat, and fold the empty hat along the suitcase wall. Pack magnets in a small tin so they don’t stick to tools. Your travel-friendly cosplay hat will arrive safe, flat, and photo-ready.
Final Tips and Next Steps
• Label each part with colored tape for quick assembly.
• Take a phone photo of how the hat fits in your bag—handy when repacking.
• Bring a tiny repair kit (needle, thread, glue) just in case.
Now that you know how to build a travel-friendly cosplay hat, it’s time to craft your own! Share your progress photos with the Crafting Inspirations community, and show us how you made your hat shine after the long trip. Safe travels and happy crafting!