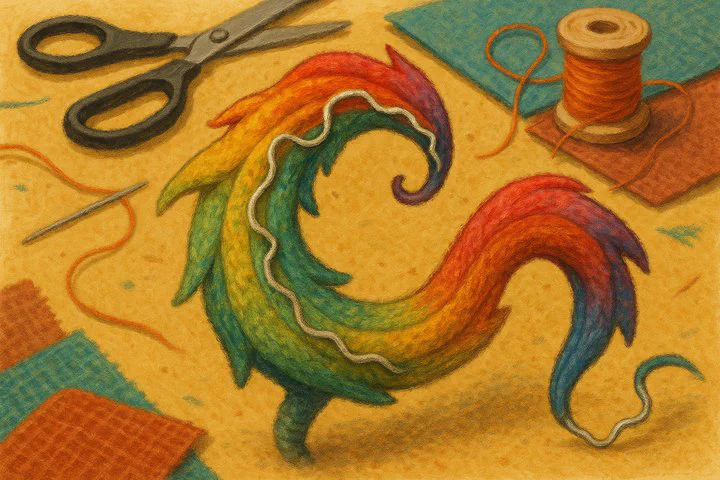
Making a Wired Tail for Cosplay

Introduction to Wired Cosplay Tails
Have you ever imagined having a tail that swishes just like your favorite character’s? You’re in the right place! In this guide, we’ll show you how to start making a wired tail for cosplay so it bends, twists, and holds any pose you want. Whether you need to help a beginner with her chimera falin cosplay or you just want a cool add-on for your own outfit, a wired tail can turn a simple costume into something amazing.
Why use wire? Wire keeps the tail light while letting it stay in shape. You can curl it, flick it, or let it trail behind you—no droopy tail here. Cosplayers love wired tails for cats, dragons, and other fun creatures because they look real and move well in photos.
Before we dive in, grab these basics:
- Aluminum or steel wire (about 12–14 gauge)
- Soft fabric that matches your character
- Poly-fill stuffing
- Duct tape or heat-shrink tubing
- Scissors
- Pliers
- Needle and strong thread or a sewing machine
With these tools, making a wired tail for cosplay is a weekend project—even for first-time crafters. Ready? Let’s build that tail!
Step-by-Step Guide to Making a Wired Tail
1. Shape the wire core.
Use pliers to bend the wire into the tail’s curve. Double the wire for extra strength, then twist the strands together. Leave a 3-inch straight part at the top; this will slide into your belt or waistband later. Wrap all wire with duct tape or tubing so no sharp ends poke through.
2. Sew the fabric sleeve.
Cut a long strip of fabric 2 inches wider than your wire frame and a little longer than the tail. Fold it right sides together and stitch down the edge to make a tube. Turn the tube right side out.
3. Stuff and slide.
Slide the fabric tube over the wire core like a sock. Push small “marshmallow” pieces of poly-fill around the wire, starting at the tip. Smooth as you go so the tail looks even.
4. Close and attach.
Hand-stitch the fabric shut around the straight top part of the wire. Sew that end to a wide elastic band or sturdy belt. Bend the tail into a playful curl or fierce whip—then step back and smile. You’ve finished making a wired tail for cosplay that moves with you all day!
Troubleshooting and Tips for Beginners
Problem: Wire pokes through fabric.
Fix: Double-wrap the wire ends in duct tape, then add a small felt pad before sliding on the fabric tube.
Problem: Tail droops.
Fix: Your wire may be too thin or too long. Twist a second piece of wire around the first for strength, or shorten the tail a bit.
Problem: Tail feels heavy and pulls on your belt.
Fix: Spread out the weight by sewing the tail base to a wide elastic waistband or a small back brace.
Problem: Lumps and bumps in the stuffing.
Fix: Pull out big chunks of stuffing and break them into smaller bits. Taking your time will help your tail look smooth and real.
Remember, every fix teaches you something new. Keep going—you’ve got this!
Inspiration and Additional Resources
Great job on making a wired tail for cosplay! Want to level up your look even more? Maybe you’re still trying to help a beginner with her chimera falin cosplay, or you’re eyeing a pair of wings.
- Looking for Wing making tutorials? Check Crafting Inspirations’ wing guide under Tutorials and Guides or search r/CosplayHelp for step-by-step posts.
- Need Shorts blueprints? Many free patterns are shared in r/SewingWorld and on maker blogs.
- Still asking, “Any tutorials for making a wired tail?” Our community forums have photo walk-throughs and videos to help.
We’d love to see your amazing tails! Share your photos and stories with us in the comments or tag @CraftingInspirations on social media. Your work can spark ideas for others and keep the crafting circle growing. Happy creating!